Fun with word clouds !
I had made word clouds on Tableau before. Recently stumbled upon a python package for it.
Wanted to play with it, thus quickly hit pip install wordcloud in my virtualenv. Looking at the examples, I thought perhaps I could contrast texts of two different subjects. Suppose I want to contrast word cloud of Finland (where I live) and Nepal (where I am from). Comparing countries seems like a good candidate as I could use the country map as masks even. I needed some input texts first though.
I would get the word cloud input text from the Wikipedia page about each country. Mediawiki provides a nice API to extract the text. I pulled the whole page’s html and used beautifulsoup to parse the html and extract corresponding text. Wrote a small function for it:
import requests
from bs4 import BeautifulSoup

def get_wikitext(page_title):
    """
    API: https://www.mediawiki.org/wiki/API:Parsing_wikitext
    Example Usage:
    print(get_wikitext('Nepal'))
    """
    S = requests.Session()
    URL = "https://en.wikipedia.org/w/api.php"

    PARAMS = {
        "action": "parse",
        "page": page_title,
        "format": "json"
    }
So now my input texts are automated with get_wikitext() function. For example, get_wikitext('Nepal') outputs a string beginning with “This article is about the country. For other uses, see …”
In general, texts have a lot of words that we do not want to see in the word cloud.
Such “Stop words” can be filtered out. Convenienty, this worcloud package provides a builtin set already covering the ususal suspects. I added in a few more that I did not want to see.
from wordcloud import STOPWORDS
stopwords = set(STOPWORDS).union(set(['article', 'main', 'retrieved','archived',
                                'parser','original', 'citation','parser', 'mw',
                                'output', 'edit', 'Monday', 'Tuesday', 'Wednesday',
                                'Thursday','Friday', 'Saturday', 'Sunday', 'January',
                                'February', 'March', 'April', 'May', 'June', 'July',
                                'August','September', 'October', 'November', 'December']
                                ))
Then generating the word clouds was quite straight forward.
from wordcloud import WordCloud

np_txt= get_wikitext('Nepal')
fi_txt= get_wikitext('Finland')

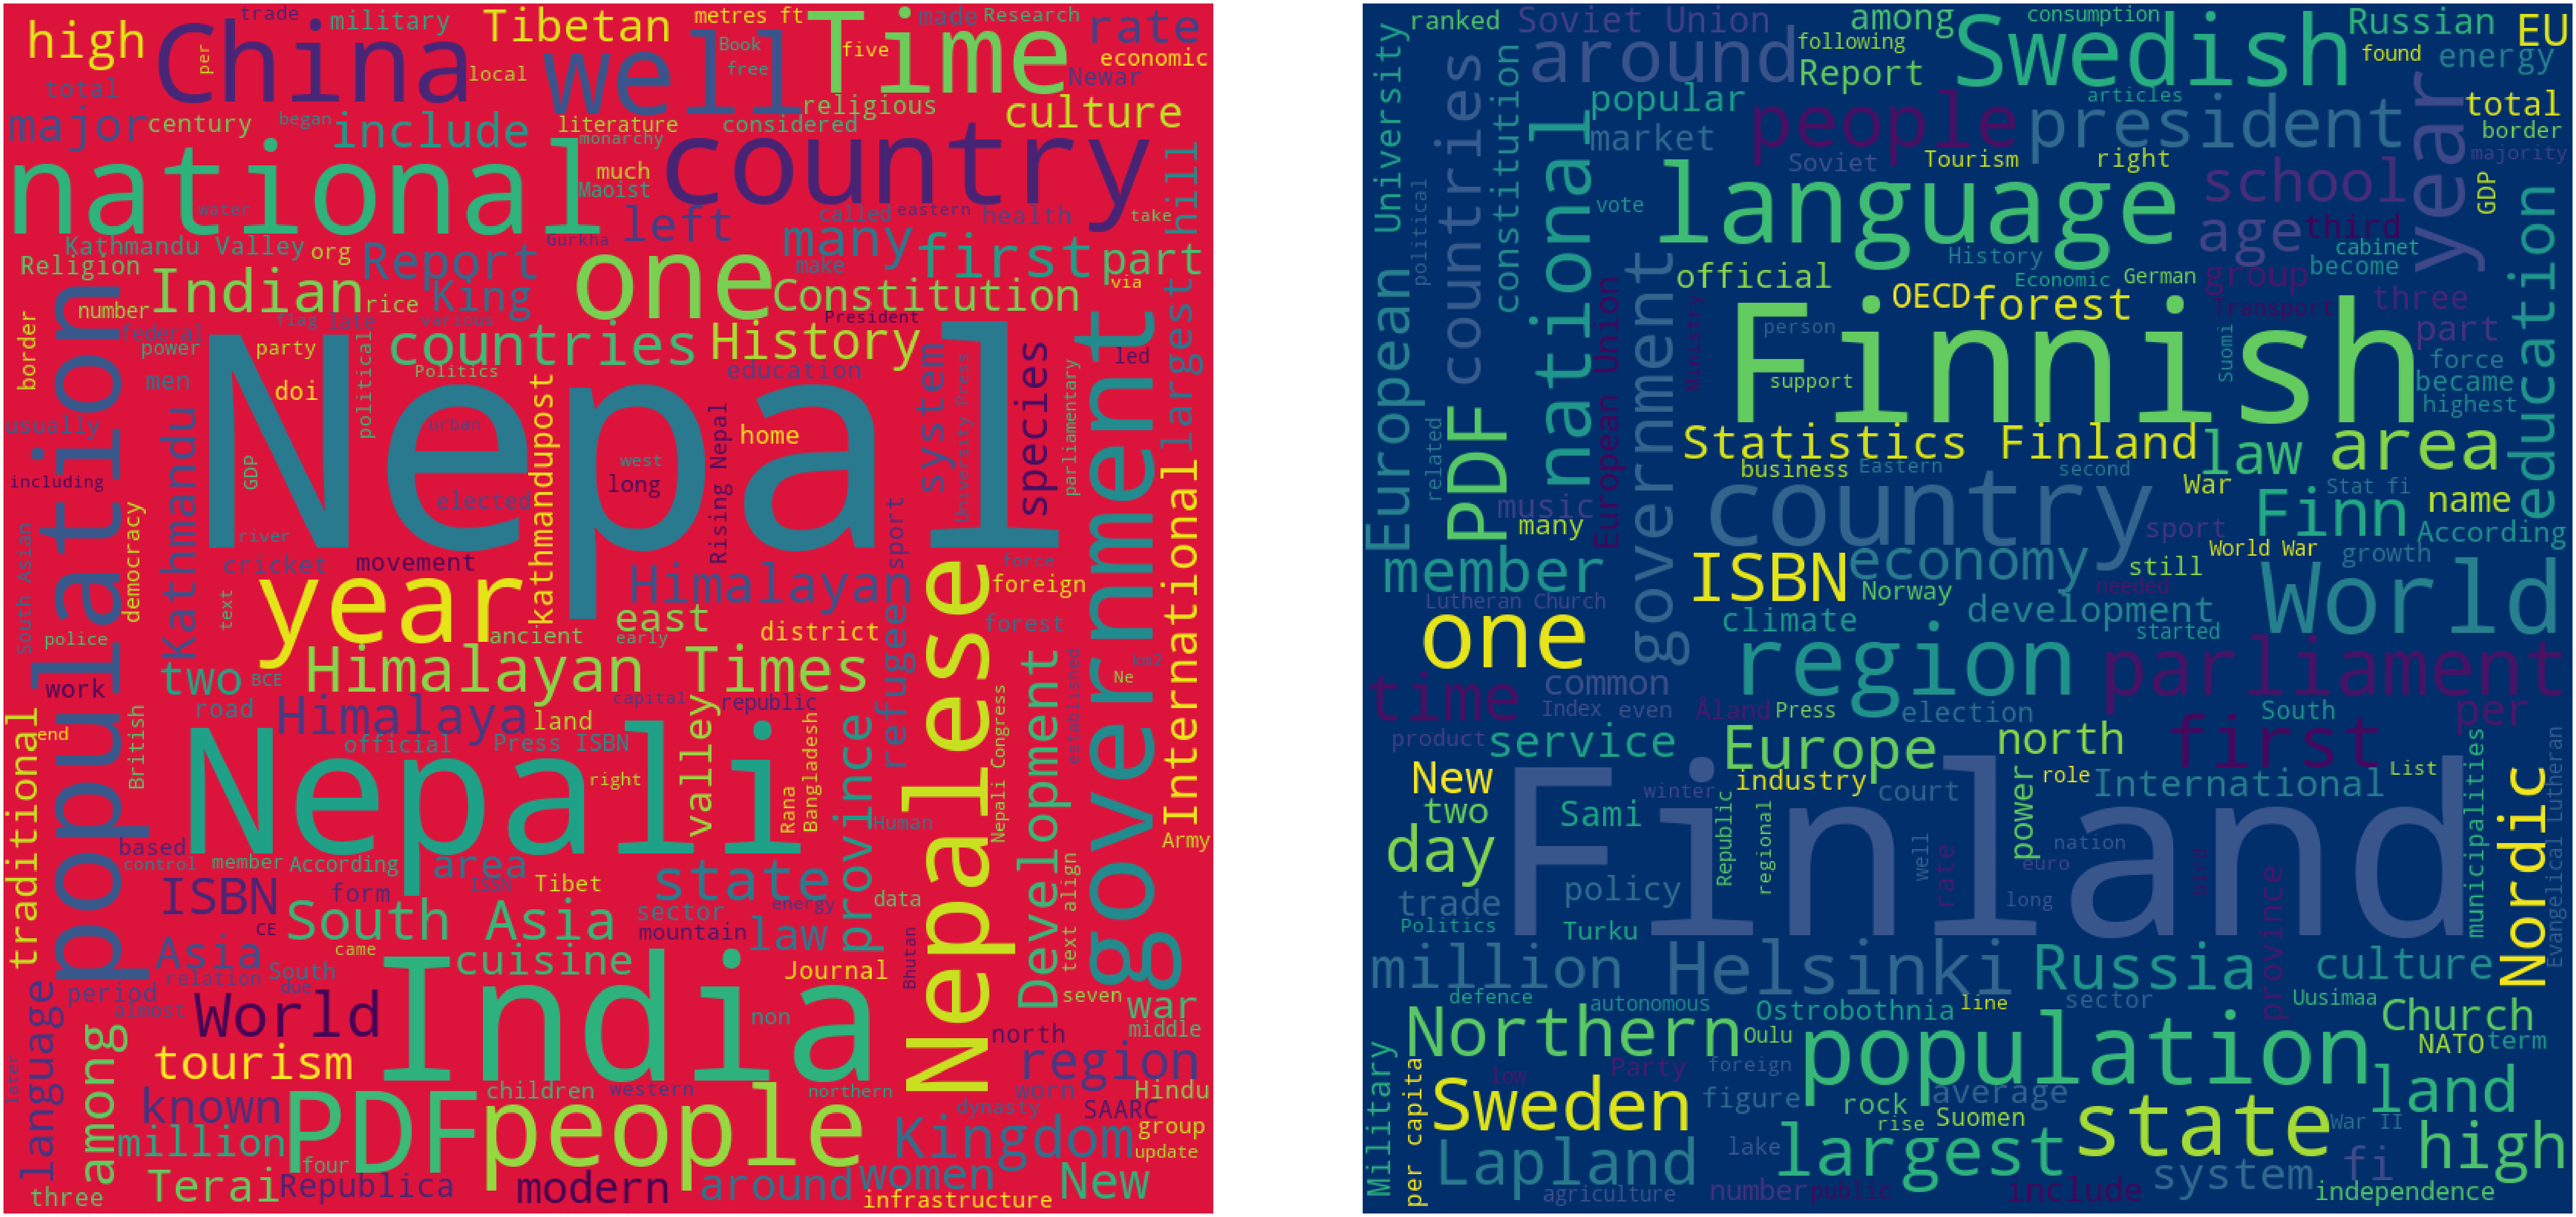
wcloud_np = WordCloud(width = 800, height = 800,
                background_color ='yellow',
                stopwords = stopwords ,
                min_font_size = 10).generate(np_txt)

wcloud_fi = WordCloud(width = 800, height = 800,
                background_color ='green',
                stopwords = stopwords ,
                min_font_size = 10).generate(fi_txt)
And plotting them side by side using matplotlib (Note that the background colour is already specified above. I took the hex color code of the flag’s primary color).
import matplotlib.pyplot as plt

plt.figure(figsize = (80, 80), facecolor = None)
plt.subplot(1, 2, 1)
plt.imshow(wcloud_np)
plt.axis("off")
plt.subplot(1, 2, 2)
plt.imshow(wcloud_fi)
plt.axis("off")
plt.tight_layout(pad = 10)
Result:
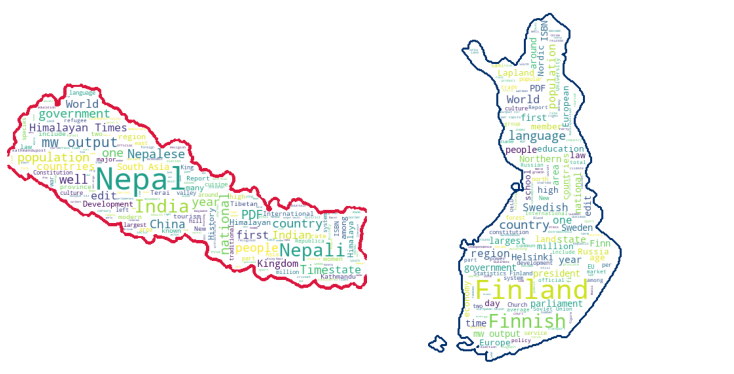
Next was to try the mask the word clouds. I uploaded some google images of the country map to photo2stencil.com and obtained their .png files. Then, using pillow and numpy the mask was created. Some images would need to be preprocessed (e.g. background values setting to 255 or converting 3D image to 2D).
from os import path
from PIL import Image
import numpy as np
import matplotlib.pyplot as plt
import os
from wordcloud import WordCloud, STOPWORDS

def transform_format(val):
    if val == 0:
        return 255
    else:
        return val

def clean_mask(mask):
    x = mask.shape[1]
    mask = mask.reshape((mask.shape[0],-1), order='F')

    new_mask = np.ndarray((mask.shape[0],mask.shape[1]), np.int32)

    for i in range(len(mask)):
        new_mask[i] = list(map(transform_format, mask[i]))

    return new_mask[:,:x]

np_mask = np.array(Image.open("images/np_mask.png"))
fi_mask = np.array(Image.open("images/fi_mask.png"))

t_np_mask = clean_mask(np_mask)
t_fi_mask = clean_mask(fi_mask)

wc1 =  WordCloud(background_color="white",
                 max_words=2000,
                 mask=t_np_mask,
                 stopwords=stopwords,
                 contour_width=5,
                 contour_color='#DC143C').generate(np_txt)

wc2 =  WordCloud(background_color="white",
                 max_words=2000,
                 mask=t_fi_mask,
                 stopwords=stopwords,
                 contour_width=5,
                 contour_color="#002F6C").generate(fi_txt)

plt.figure(figsize = (10, 10), facecolor = None)
plt.subplot(1, 2, 1)
plt.imshow(wc1)
plt.axis("off")
plt.subplot(1, 2, 2)
plt.imshow(wc2)
plt.axis("off")
plt.tight_layout(pad = 0)
Result:
And similarly, each county’s national bird’s description is used to create the word clouds below. The word cloud is recolored using their color in the image used. Also edges are identified and made distinct.
import os
from PIL import Image
import numpy as np
import matplotlib.pyplot as plt
from scipy.ndimage import gaussian_gradient_magnitude
from wordcloud import WordCloud, ImageColorGenerator, STOPWORDS

def get_wc(color, text):
    mask = color.copy()
    mask[mask.sum(axis=2) == 0] = 255
    edges = np.mean([gaussian_gradient_magnitude(color[:, :, i] / 255., 2) for i in range(3)], axis=0)
    mask[edges > .08] = 255
    stopwords = set(STOPWORDS).union(set(['article', 'main', 'retrieved','archived', 'parser','original', 'citation',
                                          'parser', 'mw', 'output', 'edit', 'Monday', 'Tuesday', 'Wednesday',
                                          'Thursday','Friday', 'Saturday', 'Sunday', 'January', 'February',
                                          'March', 'April', 'May', 'June', 'July', 'August','September',
                                          'October', 'November', 'December']))


    wc = WordCloud(background_color="black",
                   max_words=2000,
                   stopwords=stopwords,
                   mask=mask,
                   max_font_size=60,
                   random_state=42,
                   relative_scaling=0.1).generate(text)

    image_colors = ImageColorGenerator(color)
    wc.recolor(color_func=image_colors)

    return wc


np_bird=get_wikitext('Himalayan_monal')
fi_bird=get_wikitext('Whooper_swan')

danphe_color = np.array(Image.open("images/danphe.jpg"))
wc1 = get_wc(danphe_color, np_bird)
swan_color = np.array(Image.open("images/swan.jpg"))
wc2 = get_wc(swan_color, fi_bird)

plt.figure(figsize = (10, 10), facecolor = 'black')
plt.subplot(2, 2, 1)
plt.imshow(wc1, interpolation="bilinear")
plt.subplot(2, 2, 2)
plt.imshow(wc2, interpolation="bilinear")
plt.tight_layout(pad = 0.1)
plt.figure(figsize = (10, 10), facecolor = 'black')
plt.subplot(2, 2, 1)
plt.imshow(danphe_color)
plt.subplot(2, 2, 2)
plt.imshow(swan_color)
plt.axis("off")
plt.tight_layout(pad = 0.1)
Result:
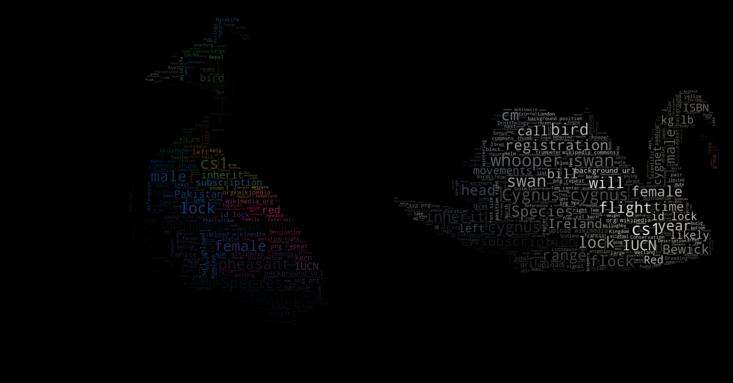
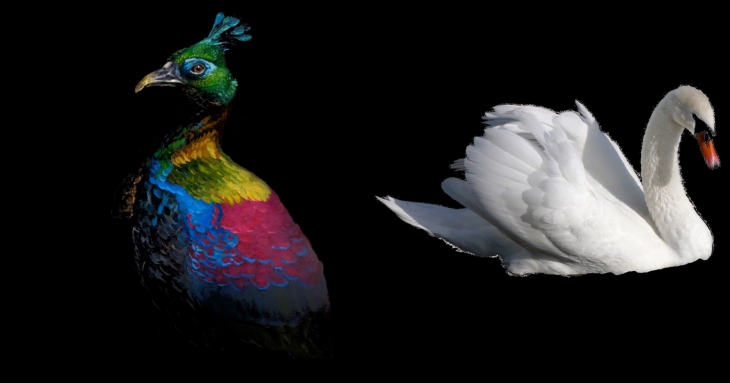
So maybe I need to select the images more carefully for the word clouds to pop out. All in all, this was a pretty fun exercise. I look forward to find use of this in other projects :) .
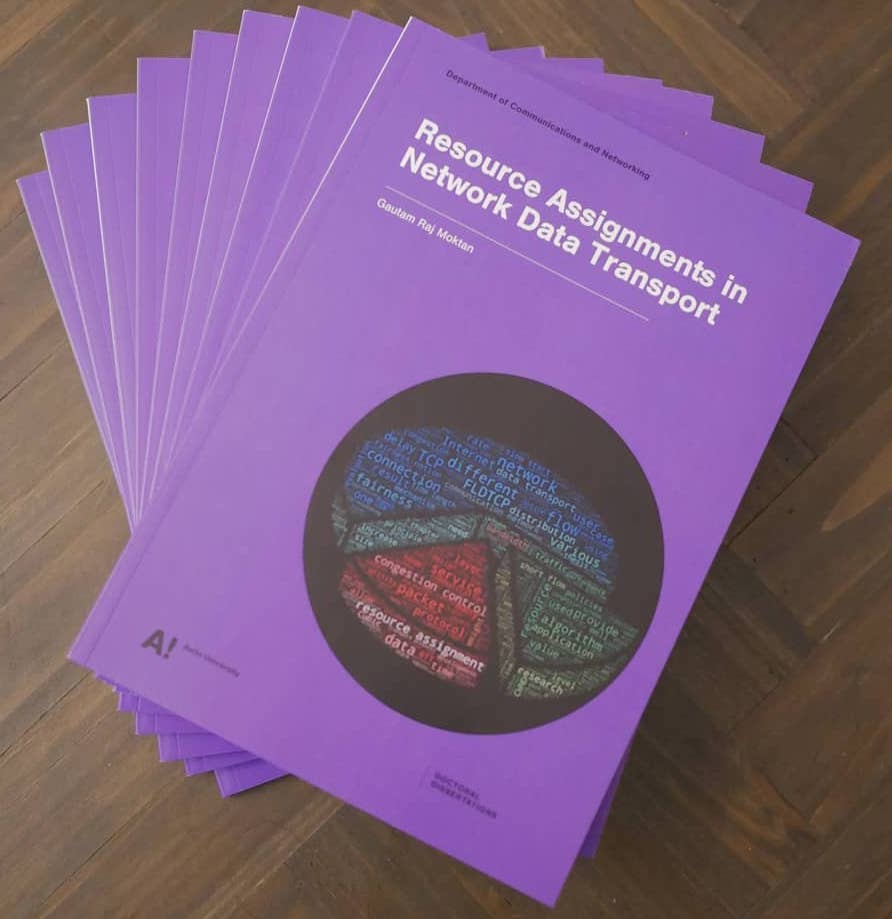
[Update:] I ended up using this method to generate the cover art of my doctoral dissertation!. Fed the whole dissertation text into an image of a 3d Pie Chart :) :
Enjoy Reading This Article?
Here are some more articles you might like to read next: